Showing posts with label In the kitchen. Show all posts

Saturday, September 27, 2014

Some Baking Going On!!

Over the last few years since I went (mostly) gluten free to help combat my R.A. symptoms, I've spent very little time baking. Obviously if I can't eat the goodies then the draw to baking them is somewhat diminished. The past couple weeks has been a happy change for my poor family who has had to do with store-bought bread and other goodies:) It started a couple weeks ago when I decided to can some hot-pepper jelly. We had lots and lots of extra serrano peppers from the garden and I didn't want them all to go to waste so hot-pepper jelly it had to become!! Recipe found at Food.com.

*Note about recipe: The amount of pectin called for seems like too much. My jelly turned out very thick with no wiggle to it. I think I'll use a bit less next time and see how it works, but the flavor was excellent!!

 
We like to eat it with cream cheese and crackers, or just on some bread. I also have a recipe from one of my hubbies (many, many) grilling cookbooks that is wonderful!! It calls for melting the hot-pepper jelly with some white wine and basil and letting it boil until it thickens a bit. Then grilling pork chops and pouring the sauce over the pork chops when serving. YUM!! Sweet, spicy, and perfect:)

Well, since I was already in the kitchen I decided to make some bread as well. It's been several years since I've made homemade bread and I decided to look for a new recipe. I found it at All Recipes    and it turned out really good.

 
This past week a family from our 4-H group gifted us with some apples from their orchard (they have around 100 apple trees!!) and a bunch of garlic too!!! What to do with all those apples? Cinnamon Apple Bread!!! I did taste a little bit of this one and it is really good. It didn't hold together for me very well and I'm wondering if I should have swirled the cinnamon topping in a bit better, but it was delicious:)  Recipe found at The Happier Homemaker.


And then I made some regular bread again as well. Same recipe as above, but I used 1 cup less white flour and 1 cup more whole wheat flour. We haven't cut into these yet, but they look great!!


So, any baking going on at your house?


Tuesday, November 27, 2012

Some Thanksgiving pics

I was thinking that today was the full moon and thus the WIPocalypse post, but it is actually tomorrow. This is a good thing as I didn't quite get the race car project done. It'll be done tomorrow morning, just in time for the REAL WIPocalypse post:)  For now, I was able to post some of our Thanksgiving pics...
 

This is cranberry cornbread, and let me tell you, this was SO GOOD!! I made it a bit on the sweet side as it used dry and fresh cranberries. WOW, and I used a new (to me) gluten free flour mix called 'Cup 4 Cup' that worked great in this. Couldn't even tell this was gluten free. The recipe for this can be found in the Dec issue of Eating Well.


This is/was Carmel Apple Cheesecake. Oh, my:) I used a gluten free snicker doodle cookie crust (just crumbled up some gf snicker doodles that I purchased) and homemade the apple pie filling (I think you can find some apple pie fillings that are already gf, but I didn't have any, so I made it). This was incredible!! Hubby and I ate it up really quick. Poor dd has some issues with dairy, so I bought her a apple strudel pie from the store, she says it was really good too:0)


And here is our table. Yes, it has a cutting mat on it, but it's to protect the puzzle underneath it. We started the puzzle as a family a while back, working on it a bit here and there. With the cat mostly in the house now, we had to find a way for him not to mess it up, so this was the solution. None of us wanted to destroy our work, so we just left it there and ate on top of it. :)

We had other food as well, of course. Like a brined/smoked turkey, mashed potatoes and gravy, green beans (not the casserole), cranberry sauce and an autumn themed green salad that was interesting.

I hope you all had a wonderful Thanksgiving as well and are starting to recover from the bloat that so often comes along with this holiday:)

Friday, November 16, 2012

Our Daily Bread (take 2)

Yesterday I wrote a bit about my attempt to make bread and the mess that resulted from that:) Today I bought new yeast and gave it another go and had much better success!!
 
Yes, this is wheat bread (whole white wheat to be specific), and no I can't have any of it, even though it smells so good in the house. I used to make a bread fairly often before I decided to go gluten free. My family (and I) really preferred the homemade bread to store bought, even my daughter would choose my homemade wheat bread over white. And about a month before my change over to gf I bought a Bosch mixer with the intent of making all of our bread/bread products.
 
I had been hurting for several months in all my small joints (feet, toes, fingers, wrists, etc) and kind of achy all over when I went to the Dr to find out why. I thought maybe I had some kind of infection or something going on. When the blood samples came back she asked if we had RA (Rheumatoid Arthritis) in the family line, and we did - my mom's father developed it in his mid 40's.
 
So off to the Rheumatologist I went for him to tell me that I had the beginnings (mild) of RA and wanted to start me on meds. I wanted to do some research and wasn't sure at the time if I wanted to start the meds. In doing my research, some places suggested going gf to see if it improved symptoms. I knew I was allergic to wheat since I was a child, but since it didn't seem to affect me I still at normally up to this point.
 
Well, now I can say that for me, going gf really has helped a lot. I don't very often need to take any pain meds (Advil) like I had been doing before, and while I can still feel some pain and swelling here and there, most of it has gone away.
 
I'm at a point now though, that I'd like to start making my family their bread again. At the point where seeing and smelling homemade bread doesn't make me want to grab a loaf and hide in the back room eating the whole thing:) I know how I'll feel in a few days now, so that helps!!!
 
 
 So it was pretty disappointing when I went to make bread for the first time in a while and it turned out like the front loaf here!!! I knew even after the first rising that things weren't right, but I went ahead and tried to bake it. Nope, not right!!! The back loaf was from my attempt today, much better!!!


And here are the rest of them from today. Hubby says they tasted good too:) I didn't use any fancy recipe, just a basic whole wheat bread recipe. Hopefully I'll keep up with making this week after week and be better about it than I am the peanut butter!!! :)

Monday, November 12, 2012

Baked Apples - YUM!!!

Hubby decided that we should do something a bit more healthy for his (and dd's) dessert project this weekend, so baked apples it was. Oh, and they were so good too:) You'll have to forgive the picture quality. We have very poor lighting in the house and it was already dark when we got started on these. I used the best pictures that I got, but they still aren't all that great.


 First hubby cut off the top of the apple and scooped out the core, but not all the way through, you want the bottom part attached to the apple so the filling doesn't fall through.


Then he mixed up the filling. This was an experiment as this is the first time he has made these from his own mixture and we weren't sure how much of the filling it would make or how much we would need.


Then he stuffed the apples full, really pushing it into the apple to get as much in there as possible.


We smoked our apples to give it a hint of smokey flavor, which was really good, but these could easily be done on a gas grill (indirect heat) or in the oven as well.

We only made 3 apples as there is only 3 of us :) but the filling made enough for at least 5 apples. I think I'm going to add a bit of coconut oil, shredded coconut and some diced apples and bake it to make a small batch of granola with the leftover filling!!!

Here is the recipe...

1 c. oatmeal (we used gluten free old fashioned rolled oats)
1 tsp cinnamon
1/4 c. brown sugar
1/4 c. chopped walnuts
5 Tbsp melted butter
1/2 c. dried cranberries

Mix dry ingredients together and then add melted butter. Mix until all ingredients are moist. Add cranberries. Stuff as tight as you can into large apples. Should be enough for about 5 apples. We used honeycrisp apples.

Cook in a smoker grill at 200 for about a hour, then turn up the heat to 350 for about 30-45 min longer. Or cook indoors at 350 for about a hour. Check for desired tenderness. Our apples were mostly soft, with just a bit of crunch left.

Like I said, these were really good, but would have been slightly better if we had vanilla ice cream to serve them with!! :)

Thursday, November 8, 2012

Hubby (and daughter) in the Kitchen

A couple weekends ago my hubby and daughter got a sweet tooth and decided it was time to try another pumpkin recipe. It just so happens that I get Better Homes and Gardens e-mails and had just gotten one that had lots of pumpkin recipes. It was REALLY hard to choose just one of them!! :) 
 
 
We ended up deciding on Chocolate Glazed Pumpkin Pie Cheesecake.


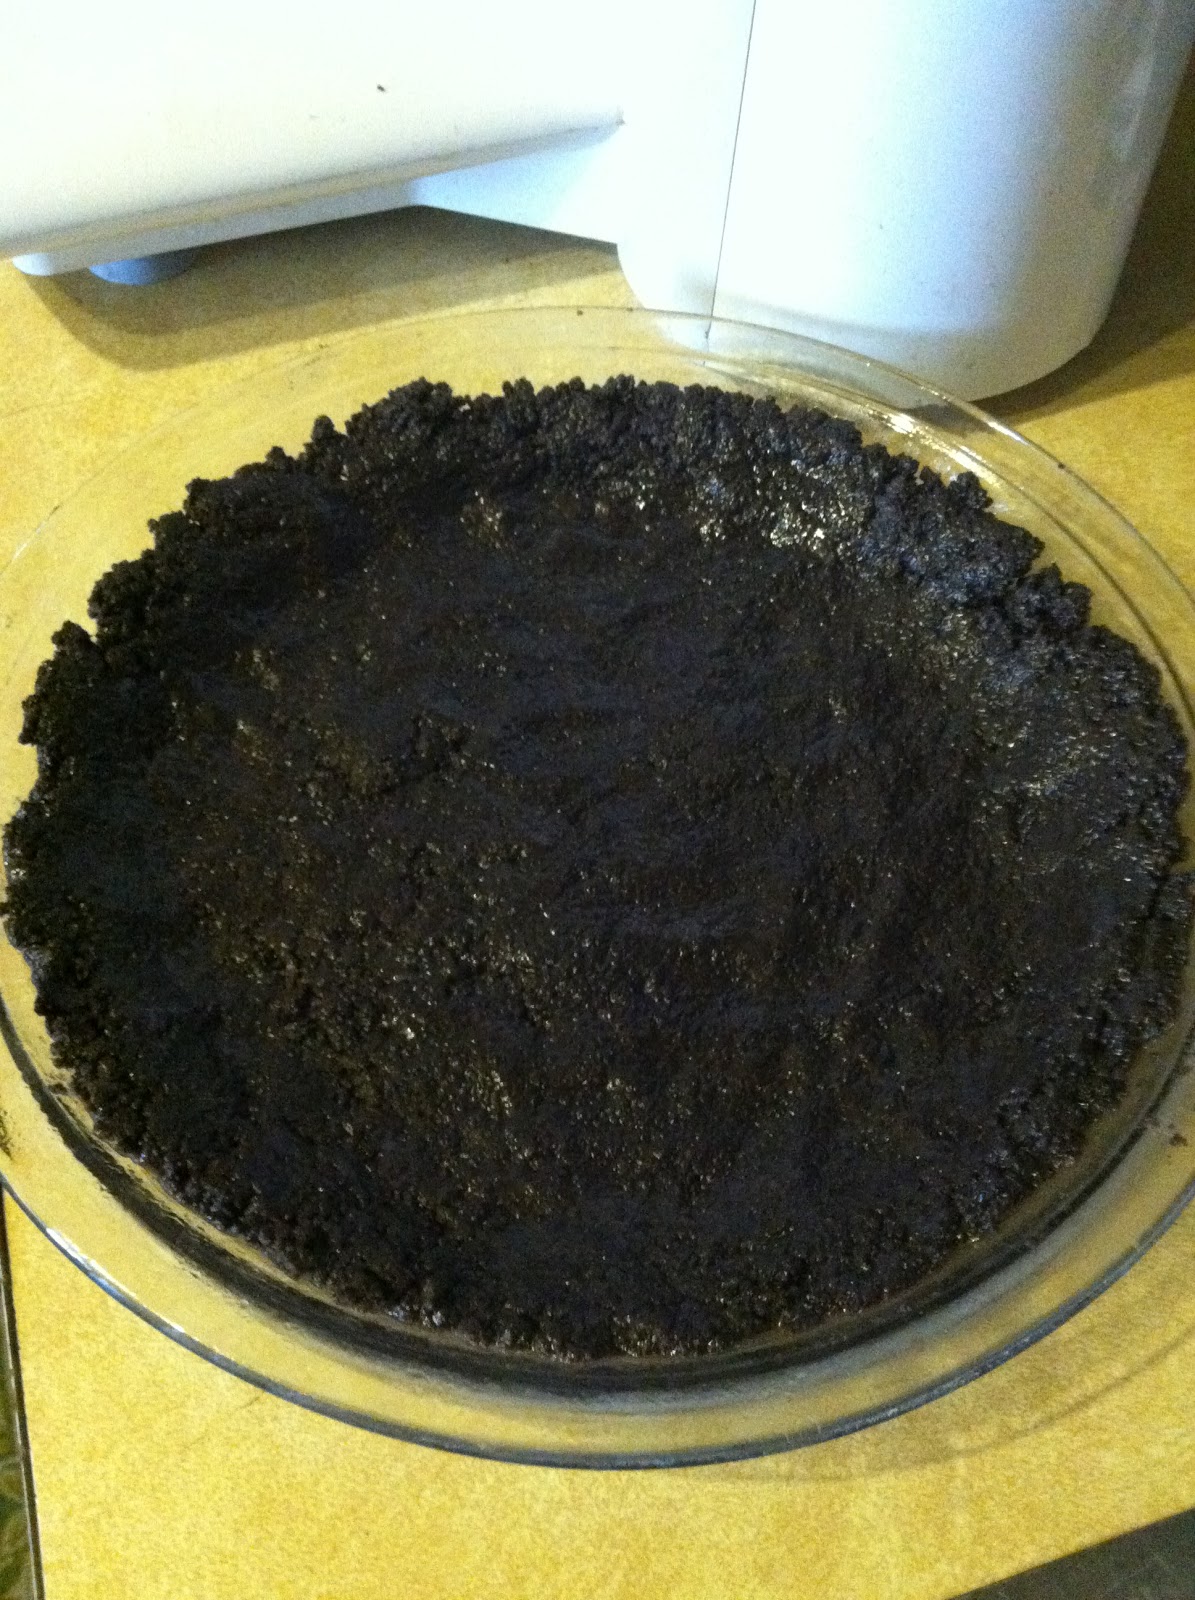
Of course, we had to make a small change to the recipe to make it mommy friendly (aka, gluten free). This was a very small change this time though. Instead of using chocolate wafer cookies (which I could not find gluten free, though I do believe I may have been able to order), we used gluten free chocolate sandwich cookies. This turned out really good, and I'm pretty sure I would have been fine just eating the whole box of them:)


My hubby is getting so good at baking, but he insists on doing all the baking on his smoker grill:) Again, I will say that at a temp of 300 or higher (and using a non-flavored wood like oak) there is very little to no smoke, and so it really does act very much like an oven. You can see on the left that we had a bit of extra batter which we cooked crust-less in another glass bowl. On the right is the pie all nice and cooked. We had to let it cool all the way before adding the chocolate glaze and then we had to let that cool to set up!!! This was incredibly hard to do!!!


As you can see, we lived and ate it all up within a few days:) We did cheat a bit and shared that crust-less pie while it was still (very) warm, so we had a little to hold us off.
 
I will say that while I liked the pumpkin flavor of this one better than the Hazelnut Pumpkin pie we did a while back, I thought the chocolate overwhelmed the pumpkin flavor. So I really liked the crust-less version of this, but wasn't as impressed with the full version. It was still good, but didn't have a strong enough pumpkin flavor to compete with the chocolate.
 
BTW, my dd was trying to practice her drizzling skills, so that is why the white chocolate is on top:) 

Monday, November 5, 2012

Pantry Basics #2

Well, not exactly a 'pantry' basic, but more a freezer basic or a food prep basic. Not sure if I should separate these or re-name all these as 'Food Prep Basic'. Will need to give some thought on that:)
 
As I've written before, we didn't do a garden this year. With the VERY dry conditions and heat here, it just seemed a waste of time and energy. However my father-in-law loves to garden and he kept at it. We received lots of onions, tomatoes, potatoes and sweet potatoes and lots and lots of peppers from him this year.


We do love peppers and use them in lots of our cooking, but I just can't use as many as I'm getting before they go bad. So I decided to chop them up and freeze them.


This is pretty self explanatory. I cut the peppers up into strips, place them in a single layer on a cookie tray lined with aluminum foil (they are easier to pull off the aluminum foil if they freeze to it), let them freeze and once they are frozen, I store them in a plastic bag. The reason I cut them into strips instead of chopping them up is because my daughter doesn't like peppers so usually we put strips of peppers and onions in our food and that makes it easier for her to pull out the veggies:)

I have, in the past, just cut the top off and seeded the peppers and frozen them whole to be used in a stuffed pepper recipe, but none of these were big enough to be used for that.

I had enough to freeze two batches from this bunch of peppers. I would rather eat food from a local garden (that I know) than the stores, so this will help to get us into the winter a bit before I have to start buying peppers at the store again:)

Friday, October 19, 2012

Hubby in the kitchen

Hubby was in the kitchen again and cooking up his own chili recipe:) He is always tweeking his recipe, but pretty much has it down now.
 
First he fire roasts the poblano and green peppers on his gas grill. This takes a little time, but makes the flavors come out. Then he chops them up.
 

Then he cut up the onion and jalapeno peppers and sauted them in a bit of oil until they were soft, then he added the peppers that he had fire roasted.


He cooks up the hamburger and adds tomatoes, beans, seasonings and the onion/pepper mixure. Then he places the whole mess on his smoker grill for a couple hours so it'll all take on a bit of smoky flavor. Once it has gotten all nice and bubbly hot and full of flavor, he brings it inside and lets it cook in the crock pot for a few more hours.


I like mine with a bit of shredded cheese, sour cream and some tortilla chips. YUMMY: ) He made this a couple of weeks ago, and now that I'm typing it all out, I want it again!! Hmm, it needs to get cold here again so I can talk him into it making it:)


Hubby said I can share his recipe. Like I said, it is ever changing, but here are the basics:

2lbs ground beef
1 onion, chopped
2 poblano peppers, fire roasted and chopped (think we'll add a 3rd next time)
1 green bell pepper, fire roasted and chopped (or whatever color bell you like)
1 jalapeno pepper, chopped
4 oz. can chopped mild green chiles
1 can red beans
1 can kidney beans
1 can tomato sauce
2 cans diced tomatoes (we like fire roasted)
4 t. salt
1/2 t. paprika
1/2 t. cayenne pepper
1 T garlic granules
1 t. smoked paprika
1 t. chipotle chili powder
8 T. chili powder

Fire roast peppers, chop. Brown ground beef while sauteing onions and peppers in a bit of oil. Add all ingredents together. Cook on smoker grill for a few hours then transfer to crock pot. If you don't have a smoker grill you could add everything to the crock pot after the ground beef is cooked and let it simmer all day.

This isn't a super hot chili, but it does have some heat. You can adjust the heat to your taste by adding or subtracting peppers and/or seasonings:)

Wednesday, September 26, 2012

Pantry Basics - Peanut Butter

I thought I'd start posting on some pantry items that we home make for ourselves. I'm going to start out with peanut butter. Of all the things that I need to make homemade to make sure I'm eating as gluten free as possible, peanut butter isn't one that I would need to make. Generally this is a naturally gluten free food. However my dh has a bad habit of reading all those nasty on-line articles about what gets into our processed food (really you don't want to know), and telling me about it. Soon enough I've added one more thing that I make for ourselves:)  I do want to say here that we do eat processed foods. I don't make everything myself, but I am slowly working towards making a bit more here and there.
 

 Peanut butter is not a hard staple to make, but it does take some time. I start out with a little more than a pound of in-the-shell non salted peanuts. We choose non salted just so we can control the amount of salt in the peanut butter, salted peanuts would work fine though. If you start with raw peanuts that have already been shelled, you would need around 1 lb of peanuts.


 I then pulse them in my food processor until it looks like this. Then I add 1/2 t. salt, 3-4 T. of olive oil (or oil of your choice), and about 2 T. honey. Then I continue to run it in the processor until it bunches up into a ball. I usually spread it apart a bit and run it some more until it is pretty smooth. The more oil you use the more smooth it will be and the easier it will be to spread as well. I wanted to use the least amount of oil that I could and found for us that 3-4 T was a nice balance. It is a little hard to spread straight out of the frig, so I let it sit out just a bit and that helps.


This is what mine looks like when it's done. I store it in a sealed bowl in the frig. I'm not sure how long it would last as we go through it pretty fast:)